Remote Lash Training Workspace Setup: Camera Angles, Lighting, and Practice
Creating a Calm, Camera-Ready Lash Training Space
Remote lash training works best when your space feels calm, clear, and set up on purpose. When your eyelash extension training kit is laid out neatly and your area is tidy, it is so much easier to focus on your hands, your tweezers, and your lash map instead of distractions around you. A good setup also helps your trainer see what you are doing and give accurate feedback.
In Australia, August is late winter, so conditions matter. Try to use soft natural light from a window during the day, but avoid sitting where the sun hits your eyes or your lash mannequin directly. Keep the room warm enough so your adhesive behaves in a steady way, and avoid draughts from open windows or heaters blowing straight onto your glue drop.
Most of all, treat this space like a mini lash studio. Even if you are working from a spare room or a corner of your lounge, act like a professional. That mindset will follow you when you move to real clients.
Choosing the Best Spot for Your Remote Lash Setup
Picking the right spot makes your training smoother and more comfortable. You want enough room for your tools without feeling cramped, but you do not need a huge area.
- A sturdy table or beauty bed that does not wobble
- An ergonomic chair, so your back and neck feel supported
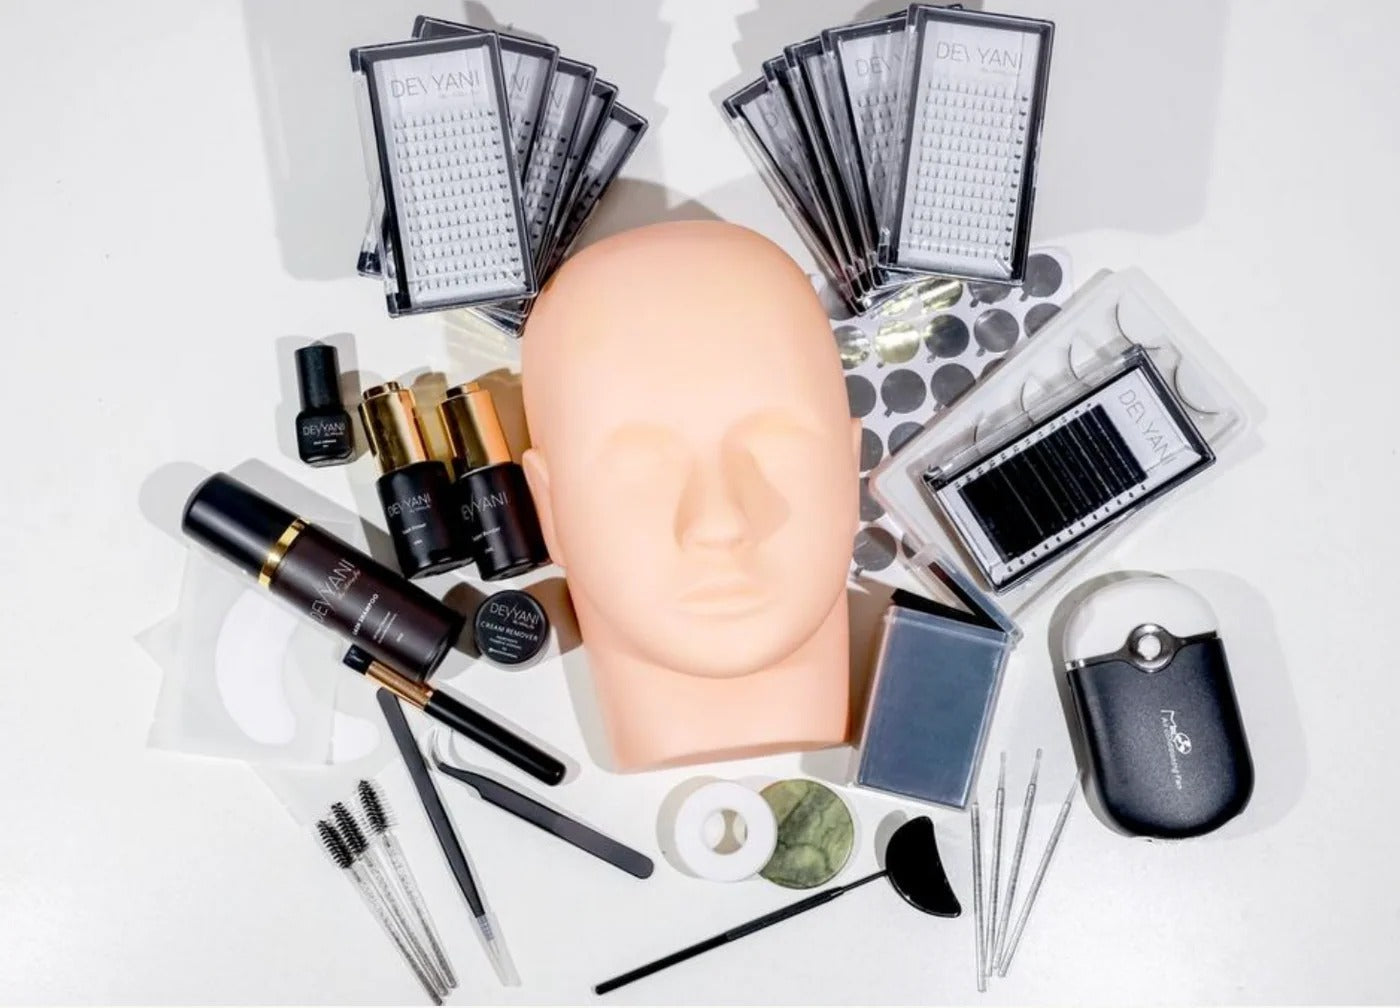
- Space for your mannequin head, lash tile, and eyelash extension training kit items
Try to set up against a neutral, uncluttered wall. Busy backgrounds can distract your trainer and make your videos look messy. Keep noise low if you can. Let people in your home know when you are in a training session so they avoid walking through or talking loudly in the background.
Think about power and internet too. Being near a power point helps keep your phone, ring light, and other devices plugged in without long cords across the floor. Make sure your Wi‑Fi signal is strong where you sit, so live calls do not freeze halfway through showing your lash line.
Lighting Your Practice Like a Professional Studio
Good lighting is one of the simplest ways to make your lash work and videos look professional. You want even light that shows every lash clearly, without glare or harsh shadows.
Try this basic setup:
- Use natural light from a window in front of you, not behind you
- Add a ring light or glam lamp above and slightly in front of the mannequin face
- Avoid only using an overhead ceiling light, which can cast shadows over the lash line
In late winter, days are shorter and light can look cooler or more grey. If your light has colour settings, try a neutral or slightly warm tone so the skin and lashes do not look too blue on camera. If you are working at night, rely on your ring light or lamp and keep it close enough that you see every lash, but not so close that your eyes feel strained.
Remember, your trainer is judging tiny details like direction and attachment. When your lighting is clear, they can see exactly what is happening and guide you more accurately.
Camera Angles Your Trainer Can Actually Assess
Great work is hard to assess if the camera angle is off. The good news is you can get helpful footage with a simple phone.
Here are some easy device options:
- Phone on a tripod or stand, flexible and high-quality for close-ups
- Tablet on a solid stand, good for a big screen, but heavier to move
- Webcam clipped to a monitor, handy for live calls at your desk
Aim to capture three main angles:
- Top view straight down the lash line
- Side profile to show curl, direction, and layers
- Close-ups of inner and outer corners
Keep the lens clean, tap to focus on the lashes, and gently adjust exposure if your phone lets you. Short clips work best. Record 20- to 60-second videos of key parts, such as isolating a lash, placing a fan, or checking for stickies. This makes it easier for your trainer to watch and give feedback without skimming through a long, unedited session.
Getting the Most From Your Eyelash Extension Training Kit
Before you start lashing, spend a few minutes unboxing your kit with intention. Lay everything out on your table so you can see it all clearly.
You will likely have items such as:
- Mixed trays or classic lashes
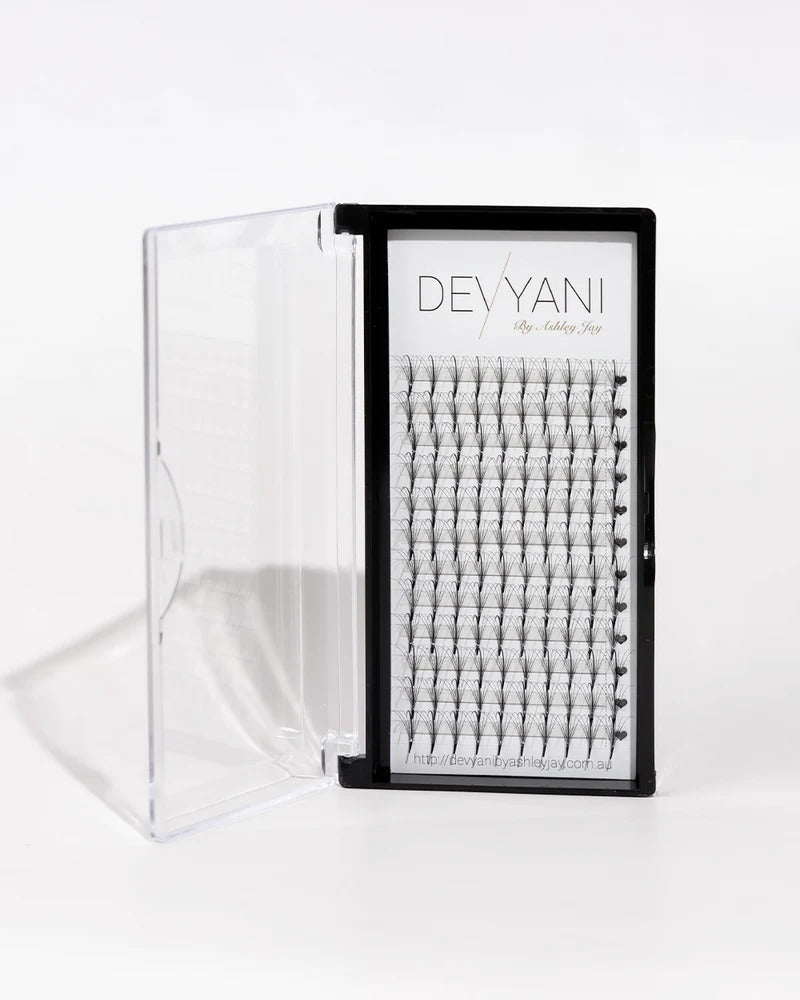
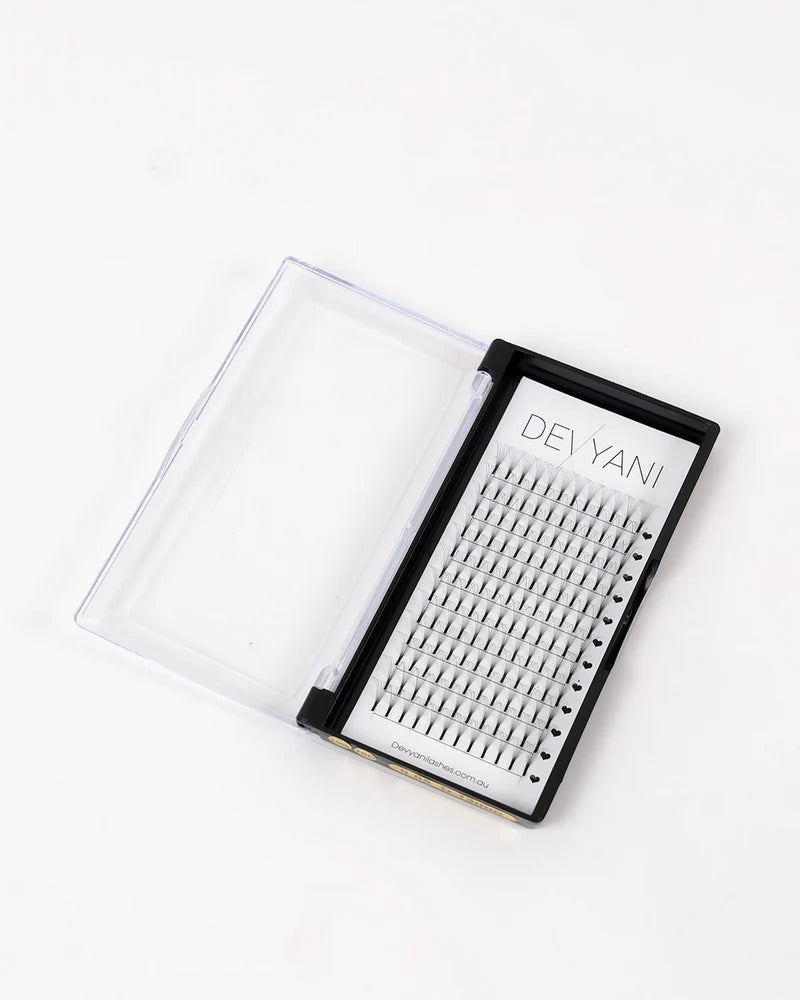
- Premade fans
- Adhesive and glue accessories
- Tweezers, tapes, pads, and practice lashes
- Wands, micro brushes, and other tools
Look at each item and remind yourself what it is for. If your training includes notes or a guide, keep that nearby and match each product to its purpose.
Store your products with care. Keep lashes in their trays, sorted by curl and diameter, so they are easy to grab. Use small containers or organisers to keep tools separate from disposables. For adhesive, avoid direct light, big temperature changes, and moisture, especially in cooler months. Seal the lid tight and store it upright where it will not tip.
Start practising on lash strips and mannequin heads. Save your premium lashes and fresh adhesive for when your trainer feels you are ready to work on models, so you do not waste products while you are still learning basic control.
Practice Layout That Mirrors a Real Lash Bed
If you set up your layout like a real salon bed from the start, your muscle memory will build in the right way. Think about where everything sits while your hands are working.
As a guide, for right-handed artists:
- Place your lash tile and glue to your right side
- Keep tape, pads, and wands within easy reach
- Have a bin or rubbish bag close but not in your way
Keep disposables and sharps away from clean tools. Set up a small sanitising area where you place items that need cleaning after practice. This trains your brain to think about hygiene from day one.
Time-saving habits help your sessions feel smoother, especially on camera. Try:
- Pre-taping your mannequin or model before your trainer joins
- Pre-mapping your lash design with a pen on the pads
- Pre-pulling and organising the lash trays and curls you plan to use
That way, your training time can focus on isolation, placement, and direction instead of hunting for a missing tray.
Using Your Kit to Simulate Real Client Scenarios
Your eyelash extension training kit is not just for basic sets. You can use it to practise different looks and tricky situations you will see on real clients.
For style practice, use your mannequin or strips to try:
- Classic sets with different maps, such as doll eye or cat eye
- Hybrid looks by mixing classics with premade fans
- Full premade sets with clear, clean bases
Adhesive is another key part. In winter, indoor air can be dry or heated, so test tiny glue drops and watch how fast they set. Try placing a few fans at different times after dipping, and feel when the glue is too fresh, just right, or already curing. This will help you understand how your chosen glue behaves in your usual room conditions.
You can also set up problem-solving drills, such as:
- Practising inner and outer corners slowly and carefully
- Checking for stickies and separating them gently
- Using your remover tools on practice lashes to get comfortable with safe removal
The more you simulate, the calmer you will feel with real eyes in front of you.
Locking in Your Routine and Sharing Your Progress
Skill grows with steady practice and a repeatable routine. Choose set days and times for training each week, even if it is just short blocks. Each time, reset your workspace in the same order, from laying out pads and tape to placing your lash tile and tools.
Track your practice by noting:
- Which map you used
- Which curls, lengths, and diameters from your kit
- How long the set took and how it felt
Take still photos and short videos from the key angles we talked about. Over a few weeks, you will start to see real changes in symmetry, direction, and coverage.
As your skills grow, you can build on your remote setup with more salon-style products and extra student kits. With consistent practice, a smart workspace, and training tools that match what you will use in your salon, you will feel far more confident stepping up to paying clients.
Build Your Lash Skills With The Right Tools
Give yourself the best start as a lash artist with a curated eyelash extension training kit from Devyani Lashes. Our student essentials are designed to match real salon standards, so you can train with confidence and consistency. If you are unsure which kit is right for you or your course, simply contact us and we will help you choose what you need.